Charitable Gift Aid
Installing Charitable Gift Aid is the same as installing any other Charitable extension. If you’re not sure how to do that, we recommend first reading our guide to installing Charitable extensions.
Getting Started
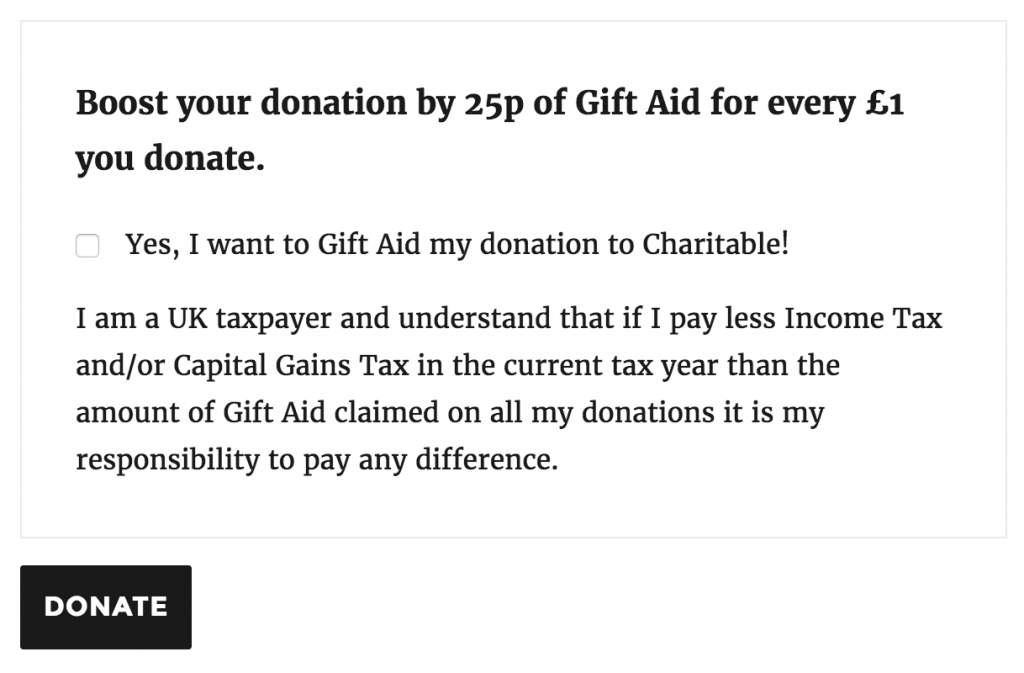
Once you have installed and activated it, the Gift Aid section is automatically added to the donation form:
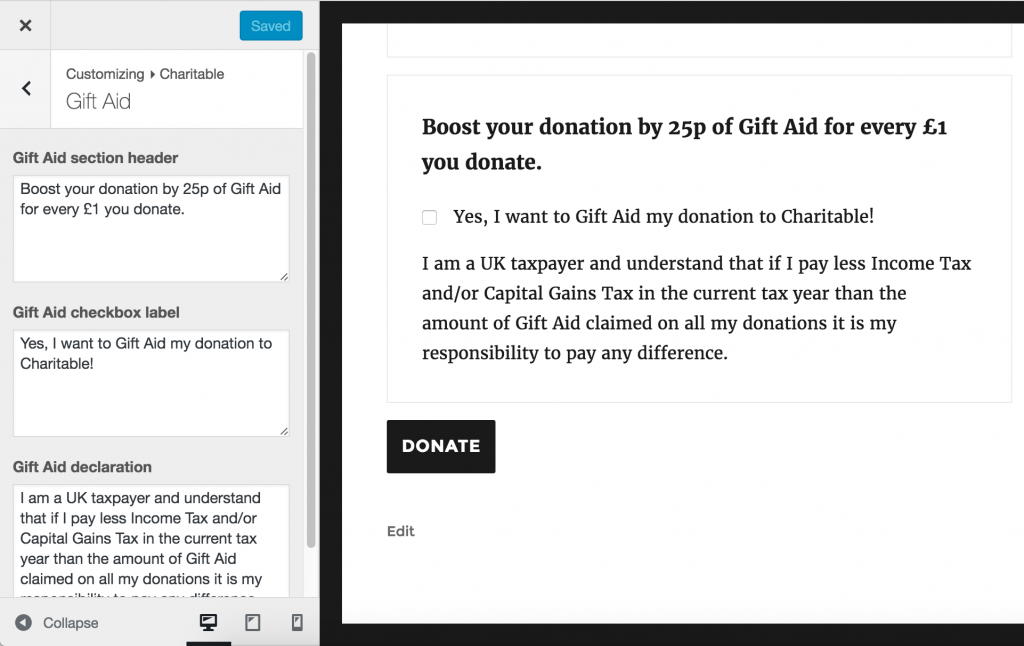
You can customize the text via the WordPress Customizer:
- Go to Appearance > Customize to open the Customizer.
- Open up the Charitable panel.
- Select the Gift Aid section.
If you’re viewing a donation form in the preview window, you’ll see the form update automatically:
In the Donations table in the WordPress dashboard, you’ll see that there is a new Gift Aid column. If Gift Aid has been claimed for a donation, this will say “Claimed”; otherwise it will show a dash:
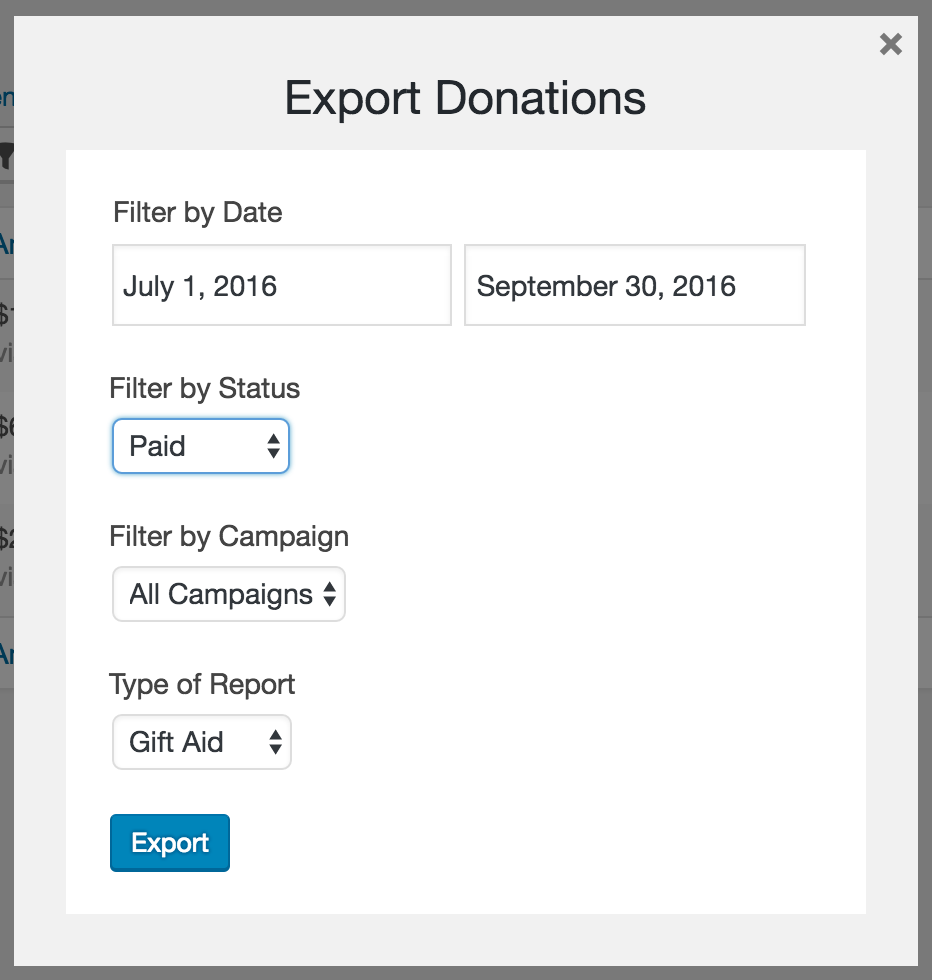
Finally, there is a new export option available. From the Donations page, click on Export. A modal window will pop up with a few criteria you can use to filter the donations. For the “Type of Report” setting, you can choose Gift Aid.

The downloaded CSV is designed to provide all the details you need about the donations to add into your the Gift Aid submissions to the HMRC. It includes the following columns:
- Donation ID
- Title (Mr, Mrs, etc.)
- First name
- Last name
- House number
- Postcode
- Donation date
- Donation amount
- Donation status


