Charitable Annual Receipts allows you to give your donors an attractive end of financial year receipt, helping them with their tax reporting. Annual receipts can be accessed online, downloaded or printed.
How to install and activate the Annual Receipts plugin
Annual Receipts is a WordPress plugin. You can install it just like any other plugin. Here’s a quick how-to:
- Start by downloading your plugin from your account page or your purchase receipt email.
- In your WordPress dashboard, go to Plugins > Add New.
- Click the Upload Plugin button at the top of the page.
- Select the zip file you downloaded before and click Install Now.
- Activate the plugin!
Stuck? Check out read our guide to installing Charitable extensions for a detailed step-by-step tutorial with screenshots to help you along.
How to create your Annual Receipt page
After you have activated the plugin, the next step is to create a new page in your WordPress dashboard.
- Go to Pages > Add New.
- Click the blue + icon in the top left corner, or the the + icon in the content area to add a new block to the page.
- You can find the Annual Receipt block by searching for “Annual Receipt”, or by browsing the blocks and scrolling down to the Charitable category of blocks.
- Click on the block to insert it.
Customizing the Annual Receipt block

There are a variety of settings you can use to customize the annual receipt to your needs.
Logo
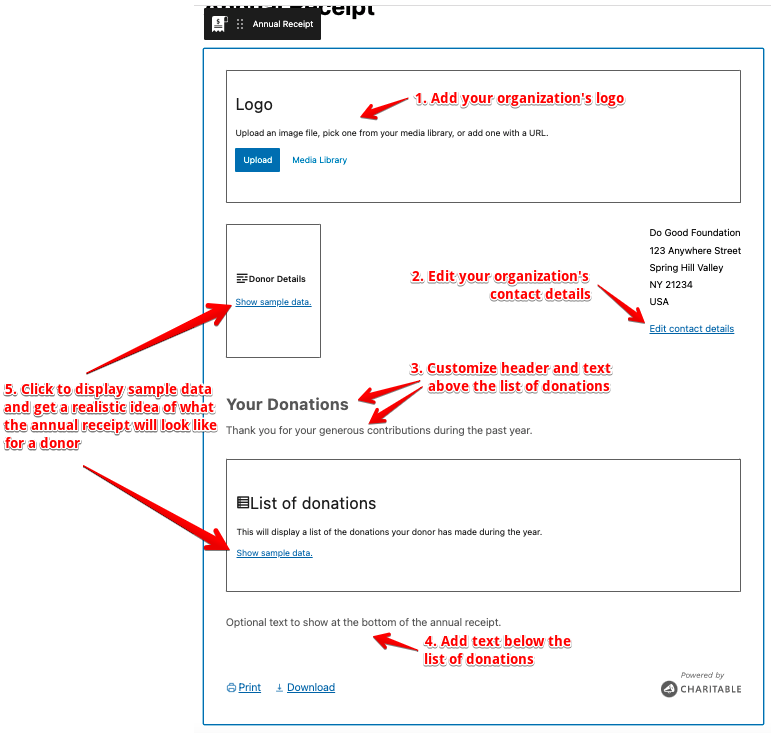
Upload a logo from your computer or use one from your website’s media library. You can also drag an image from your computer directly onto the Logo placeholder.
Organization contact details
You can include your organization’s address, phone number or other relevant details in the top right corner of your annual receipt. The contact details are set under Charitable > Settings > General. Clicking on “Edit contact details” will open a new browser tab where you can set your contact details.
Header and other text above donations
You can add a header and other text to show about the list of donations. You can use rich text formatting here so you can make the text bold or italic, for example.
Footer text
You can add an additional bit of text directly below the list of donations. Rich text formatting is supported.
Preview with sample data
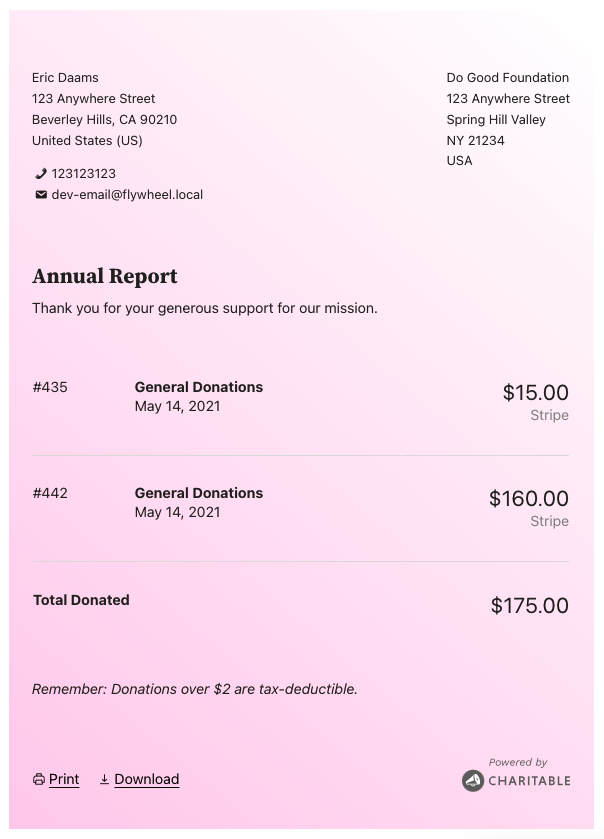
The annual receipt block shows placeholders where dynamic (i.e. donor-specific) content is shown. You can click the “Show sample data” link in these placeholders to display an example donor’s details and list of donations.
Additional block settings
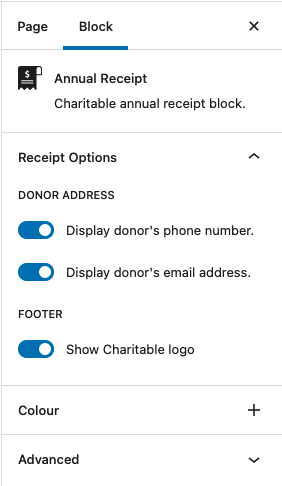
You’ll find a few more options for customizing your Annual Receipt block in the block inspector (the settings panel on the right side of the page).

Donor Address
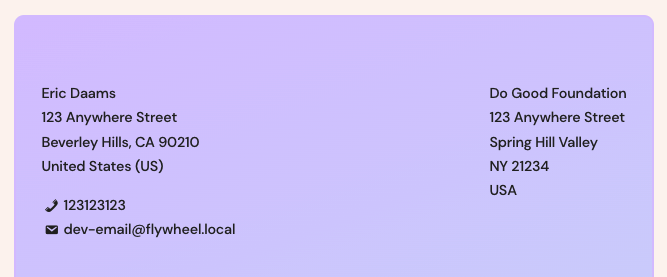
You can choose whether to display the donor’s phone number and email address. Tip: Preview the receipt with sample data to see where the phone number and email address are shown.
Footer
The Annual Receipt block includes a small “Powered by Charitable” logo in the footer. If you would prefer not to display this, you can simply turn it off here. No hard feelings, we promise. 😉
Colour
Create a unique annual receipt with colour settings! You can use this to change the colour of the text as well as to change the background colour. You can even use gradients for your annual receipt.

Border (theme-dependent)
You may also be able to customize the border for your annual receipt. This feature is currently only available with WordPress block themes supporting Full Site Editing, like the Twenty Twenty Two theme.
For example, the Tove theme by Anders Noren is a fun block theme with Full Site Editing support. Here is an example of an Annual Receipt in Tove, with borders customized:

In the future we expect that this feature will became available with any theme, though this depends on updates to WordPress itself.
How to create an Annual Receipt page with a shortcode
If you are not using the block editor, you can still create an Annual Receipt page using the [charitable_annual_receipt] shortcode. It supports most of the same settings that are supported by the block, but it does not have the same styling customization options.
Shortcode Parameters
logo: The ID of an image file in your Media Library.receipt_header: The header in the annual receipt. This defaults to “Your Donations”.receipt_header_text: The text displayed below the receipt header, above the list of donations. This is empty by default.receipt_footer_text: The text displayed below the list of donations. This is empty by default.show_donor_phone: Whether to include the donor’s phone number. Defaults totrue.show_donor_email: Whether to include the donor’s email address. Defaults totrue.show_charitable_logo: Whether to display the Charitable logo in the footer of the annual receipt. Defaults totrue.
Usage
Default
Without any additional arguments, the shortcode will display the annual receipt with the header set to “Your Donations”, no further text above or below the list of donations, and with the donor’s phone number and email address show.
[charitable_annual_receipt]All options added
[charitable_annual_receipt logo=123 receipt_header="Thank You" receipt_header_text="Your generosity is astounding." receipt_footer_text="<em>Donations over $2 are tax-deductible.</em>" show_donor_phone=0 show_donor_email=0 show_charitable_logo=1]Final steps to publish your Annual Receipt page
After you have finished editing your Annual Receipt block or shortcode and added any other content to the page, click on Publish.
You now need to tell Charitable that the page you just created is your Annual Receipt page:
- Go to Charitable > Settings > General.
- Choose the page you just created for the “Annual Receipt Page” setting.
- Click Save Changes.
How to change the end of financial year date
The date marking the end of the financial year changes country by country. Annual Receipts defaults to using December 31 as the final day of the financial year, but you can change this easily enough.
- In your WordPress dashboard, go to Charitable > Settings > Extensions.
- You will find the “End of financial year” setting in the “Annual Receipts” section. Set the day and month to match your country’s end of financial year date.
- Click Save Changes.
