Charitable extensions are normal WordPress plugins which add extra features to Charitable.
1. Make sure you have activated your license
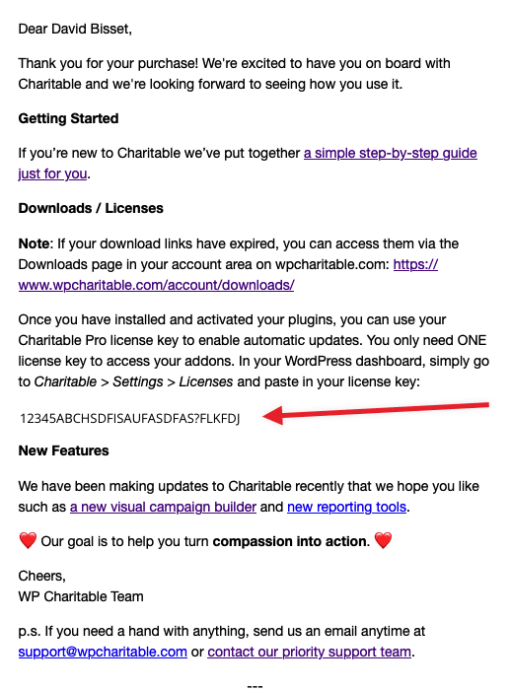
When you purchase a plugin license through wpcharitable.com, you will receive a single code to register Charitable as a paid (or a “pro” version, not a lite or free version).
After you make your purchase, check your email for the Purchase Receipt email.

Important: Can’t find email? Don’t worry. This code can also be found in your account dashboard on wpcharitable.com.
Once you activate your license in Charitable with this code you will be able to install Charitable extensions two ways.
2. Install the addon manually via wpcharitable.com.
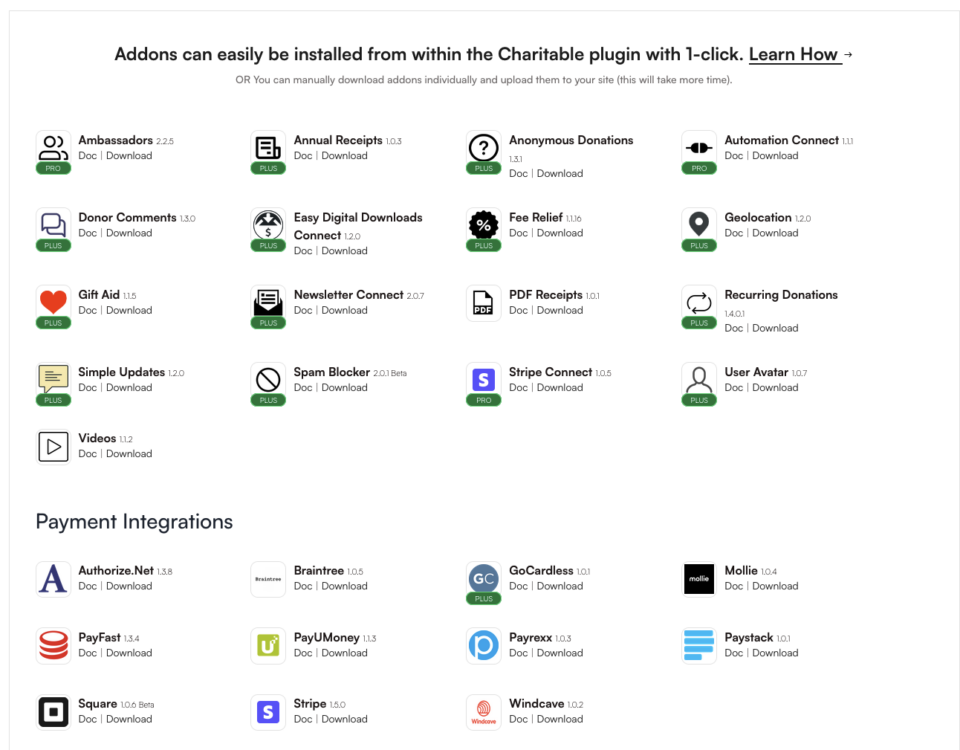
You can download your plugin(s) through the wpcharitable.com account area. Simply log in using the account created when you made your purchase and then download the plugin from the Downloads tab.

Once you download a zip file of an extension you can install it on your site in one of two ways:
- Install it in the WordPress dashboard — the recommended approach.
- Install it through FTP.
How to install a plugin in your WordPress dashboard
You can install a Charitable extension in your WordPress dashboard. This is the way we recommend installing Charitable extensions, since it’s the easiest.
In your WordPress dashboard, go to Plugins > Add New:

Next, click on the Upload Plugin in the top left corner, attach the zip file you downloaded earlier, and finally click Install Now.

Skip ahead to find out how to activate your plugin.
How to install a plugin via FTP
If you have FTP access to your website server and you are comfortable with using an FTP program like Cyberducks or Filezilla, you can follow the steps below to install with FTP.
First of all, you will need to unzip the zip file you downloaded earlier. You will be uploading the plugin folder, not the zip file itself.
Next, log in to your website server using FTP. Navigate to the /wp-content/plugins directory in your WordPress installation files.
Upload the plugin folder to the plugins directory to install it.
Activate the plugin
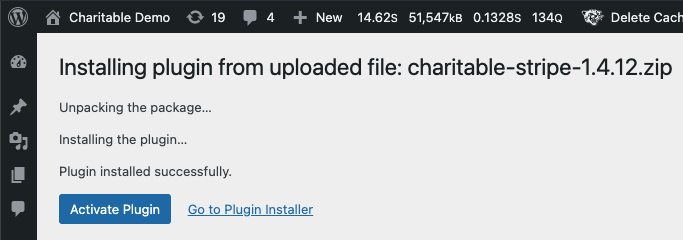
Now that you have installed the plugin, the final step is to activate it.
If you installed the plugin via the WordPress dashboard, simply click on the Activate Plugin button:

You can also activate plugins by going to Plugins > Installed Plugins.
3. Installing via the addons screen in Charitable
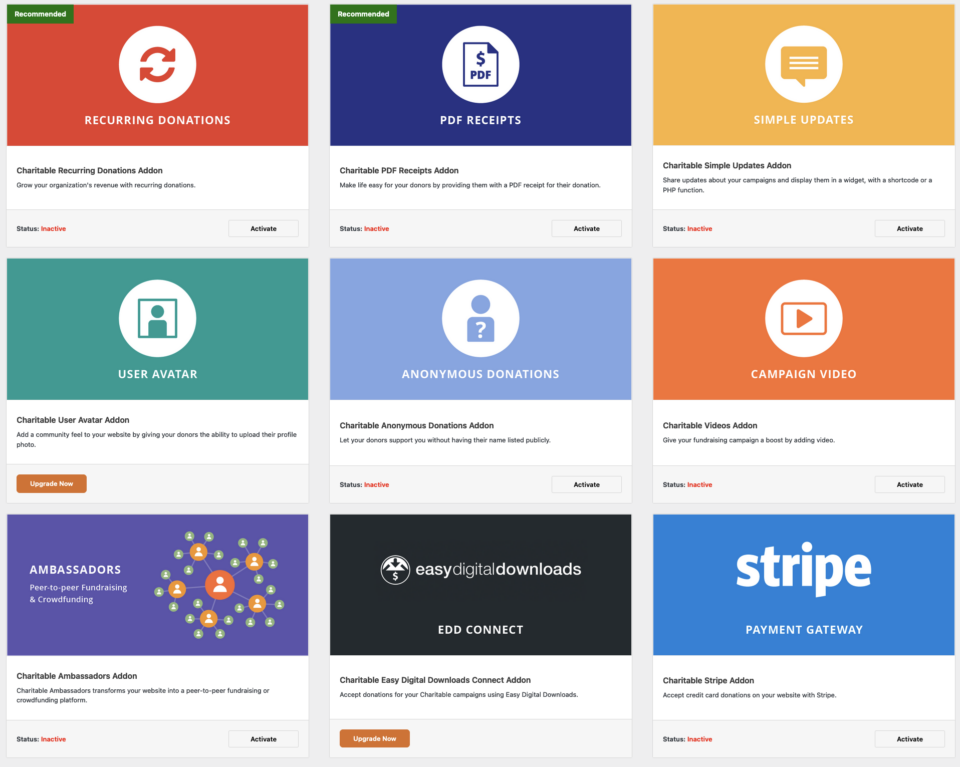
You can also do a one-click install of an extension or addon you have available in your plan by going to the addons screen in the Charitable menu.

