This guide will walk you through the simple steps to upgrade from Charitable “Lite” to a paid license, unlocking even more powerful features to support your non-profit, cause, or fundraising website. The upgrade process is straightforward and will ensure a seamless transition without losing any of your existing donation campaigns and records.
Important Note for Existing Customers: If you are an existing customer with a valid Charitable license, simply download the latest version of the plugin from the Downloads page in your Charitable account, upload it to WordPress, and make sure your license key is verified. See how here » In case you’re still facing issues, deactivate your license key and then reverify it. The rest is taken care of for you. You’re all set to use the new & improved Charitable Pro plugin. You do not need to purchase a new plan. You are eligible to download and use the Charitable Pro plugin if you have subscribed to any of our premium plans, including Basic, Plus, Pro, and Elite.
Table of Contents
Here are the steps to upgrading to Pro:
Purchasing a Charitable Pro License
To begin, visit our Charitable Pro Plans page. This page details all the enhanced features available with our paid license levels, specifically designed to help you achieve your fundraising goals. Take some time to review the options and see which best fits your organization’s needs.
Once you’ve found the right plan, click the Get Started button to proceed to checkout.
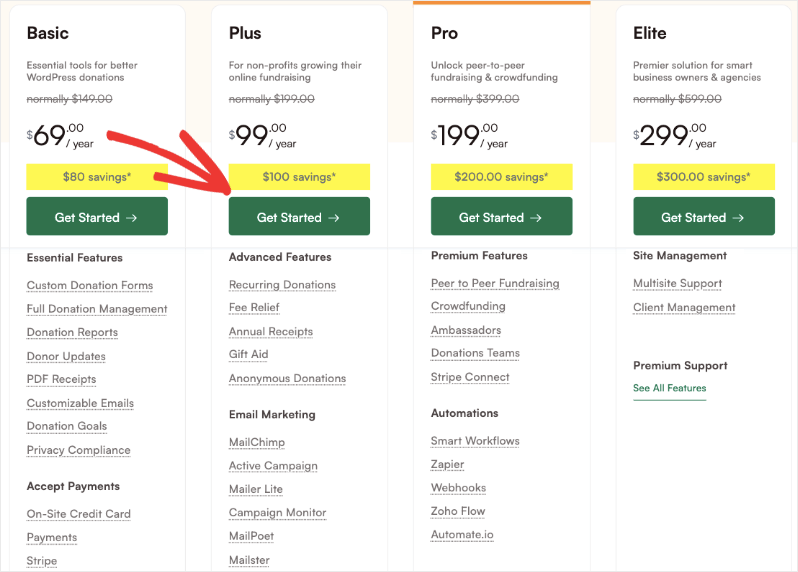
On the checkout page, we automatically apply a discount for your first year for upgrading to our Pro plugin. You will need to enter your account and payment information.
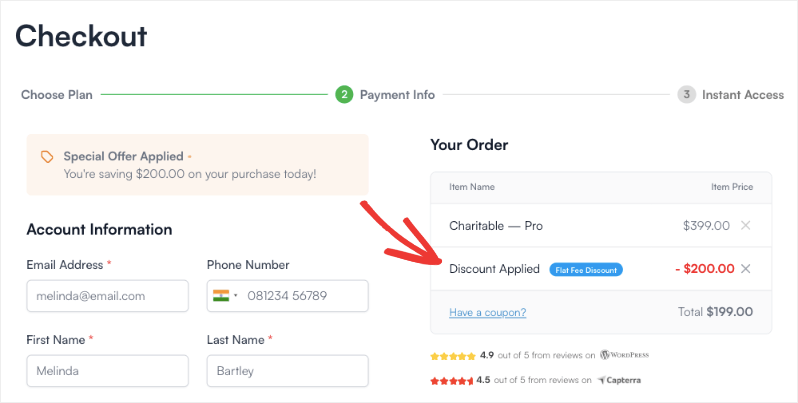
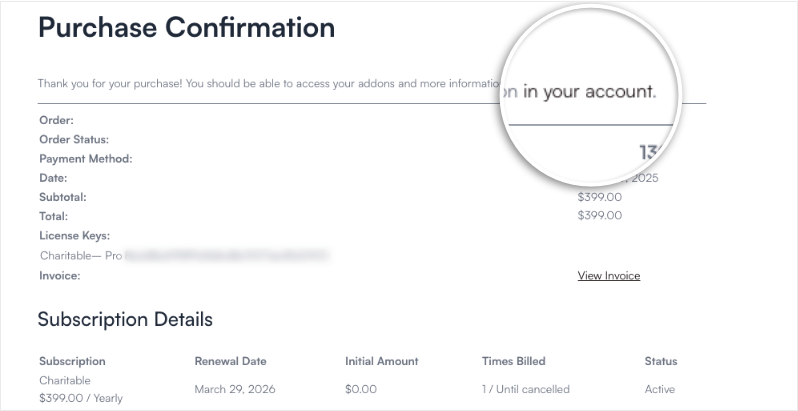
After completing all the required fields, click the Complete Checkout button to finalize your order. Once processed, you will see a receipt of your purchase on screen with a link to go to your Charitable Pro account.
Note: This receipt and the information you need to get started will also be sent to the email address you provided.
Accessing Your Charitable Pro Account
When you complete your purchase, a Charitable Pro account is automatically created for you to access your plugin downloads, license keys, receipts, and customer support any time you need.
In the receipt you see on your screen, click on “in your account” and it will take you to your account dashboard.
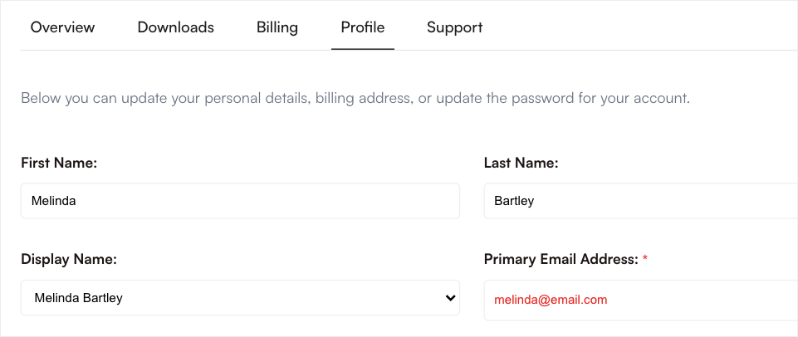
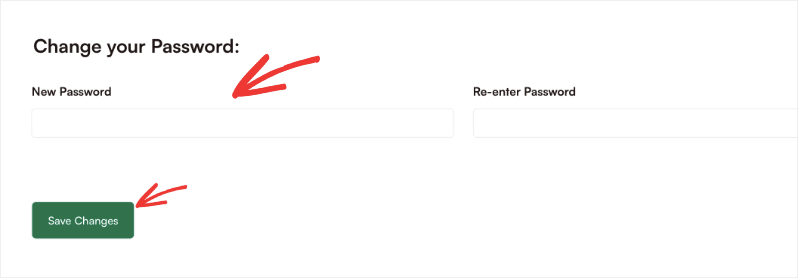
When you open your account, the first thing you want to do is visit the Profile tab in your account. Here you’ll see your personal information that you entered in the checkout form.
Scroll down to the password section and set a new password for your account. Keep a note of your credentials safely so that you can log back in when you need.
Now head over to the Downloads tab and you’ll see a license key there. Click on the clipboard icon to copy this key and keep it ready for the next step.
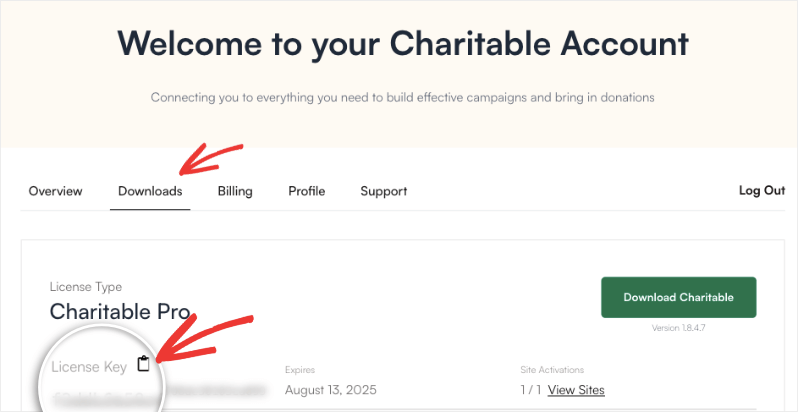
Important Note: Once you’ve purchased your license, you simply need to add the license key to your Charitable plugin settings in WordPress. This will automatically install the paid version of the plugin for you.
Activating The Charitable Pro Plugin
Note: The following steps are for self-hosted WordPress websites.
Make sure you are using the latest version of Charitable “Lite” (1.8.5+). If you are not, it’s best to upgrade to the latest version before you begin. If you have a long standing Charitable “Lite” install you might need to do a manual installation.
Log in to your WordPress website and go to Charitable Pro » Settings. On this page, you will find a field labeled License Key.
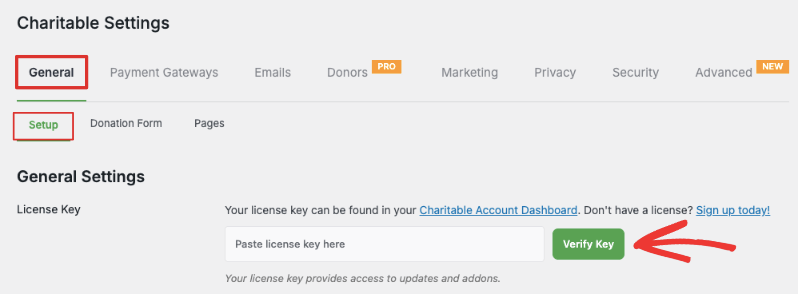
Paste the copied key into this field and click the Verify Key button.
The automatic verification process will begin. Once your license key is verified, you will be redirected to a new screen asking for confirmation to proceed.
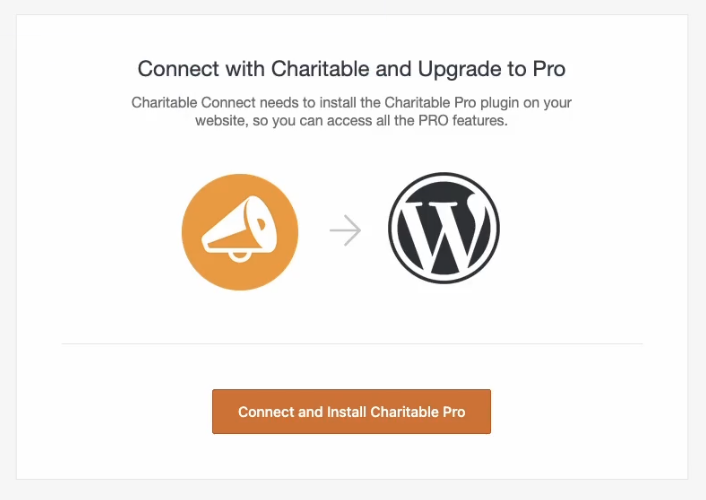
Click the Connect and Install Charitable Pro button to start the installation.
The paid plugin will now be automatically installed. This might take a few moments. Once complete, you will see a success message.
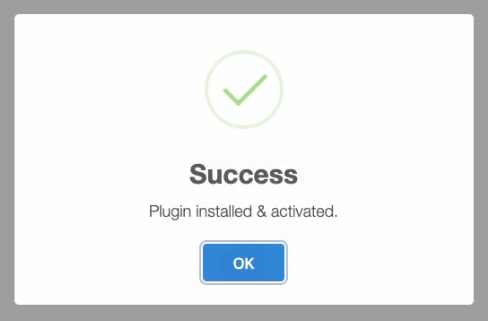
Note: If the automatic installation fails, it could be due to restrictions set by your hosting provider. In this case, you’ll need to manually install the paid version. The paid version of Charitable Pro is available on your download tab when you view your account on wpcharitable.com, just like any paid addons and extensions. You can refer to this guide here for more information.
After clicking OK on the success message, you will be redirected back to the Charitable Pro settings page. The paid version is now installed and ready to use.
You should see that your license key is verified and your license type is displayed.
Deleting The Old Charitable Plugin
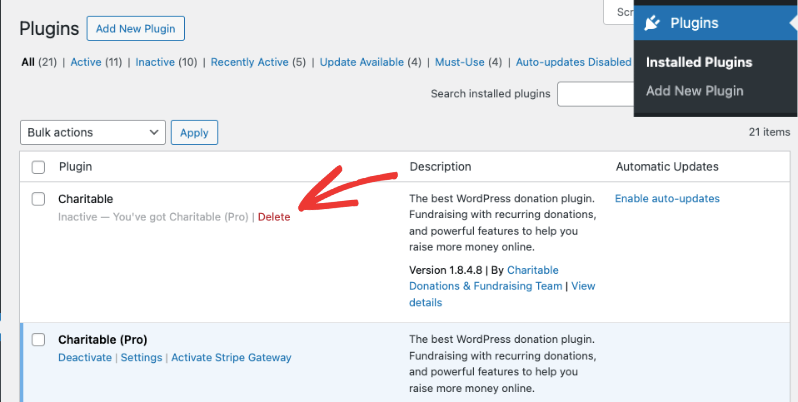
Once Charitable Pro is successfully installed, you can safely delete the old version from your WordPress plugins page.
All your existing donation forms and settings will be automatically managed by the paid plugin, so no data will be lost by deleting the free version.
Navigate to the Plugins » Installed Plugins page in your WordPress admin menu. Now, find the deactivated Charitable plugin and click the Delete option.
That’s it! You’re all set to use Charitable Pro!
Frequently Asked Questions
Here are some common questions about upgrading to Charitable Pro.
Will my existing donation campaigns from Charitable Lite still be available after I upgrade?
Yes! After installing Charitable Pro and deleting the old plugin, all the donation forms and campaigns you created will still be there and fully functional.
What are the different plans available in Charitable Pro?
Charitable Pro offers flexible pricing tiers:
- Basic ($69/year)- Perfect for small organizations
- Plus ($99/year) – Ideal for growing nonprofits
- Pro ($199/year) – Best for peer-to-peer and crowdfunding causes
- Elite ($299/year) – Best for established charities and agencies
Each tier includes progressively more features and capabilities to match your organization’s needs.
Which plan do I need for Recurring Donations?
The recurring donations feature is available in Plus, Pro, and Elite.
Is there a money-back guarantee?
Yes! Charitable Pro comes with a 14-day money-back guarantee. If you’re not completely satisfied with your Pro purchase, you can request a full refund within 14 days of your purchase – no questions asked.
Is there customer support available with Pro?
Absolutely! All Pro plans include customer support:
- Basic and Plus plans get standard support with 48-hour response time
- Pro and Elite Plans get priority email support with same-day response
Will I lose my data if I upgrade?
No, upgrading from Lite to Pro is seamless and preserves all your:
- Existing campaigns
- Donor information
- Campaign settings
- Donation history
- Website customizations
The upgrade simply adds new features without affecting your current data.
I’m an existing customer, how do I get the Pro plugin?
If you are an existing customer, we made it easy to upgrade to the Pro plugin. Go to your Charitable account and open the Downloads tab. Here, download the latest version of the plugin available. Now go to your WordPress site and open the Plugins » Add New » Upload Plugin page. Here you can upload the plugin file. Make sure your license key is verified. That’s it.
Congratulations! You have now successfully upgraded to Charitable Pro and can access a wide range of additional features designed to enhance your fundraising efforts.
We encourage you to explore the new Pro Plugin’s features available to create even more impactful donation forms for your cause.