
Are you ready to create your first campaign (with a donation form) with Charitable? By following the step-by-step instructions in this walkthrough, you can easily create and publish your first campaign on your site in just minutes.
Before getting started, make sure you’ve installed and activated Charitable on your site.
Adding a New Campaign
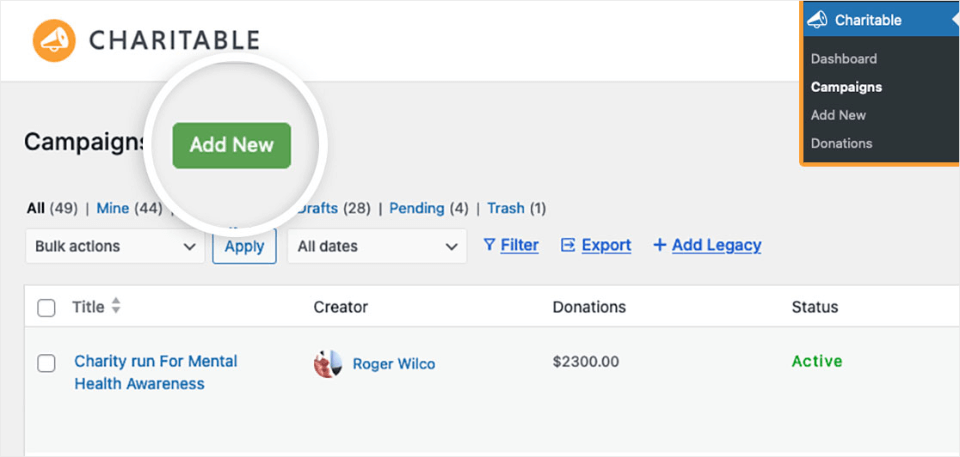
To begin, you’ll need to be logged into your WordPress admin area. Once there, click on Charitable in the admin sidebar to go to the Campaigns page. Then, to create a new form, click on the Add New button to launch the Charitable campaign builder.
Selecting A Campaign Template
Now, you’ll come to the Select A Template screen. This is a library of premade templates and layouts that are neatly categorized in the left menu. You can use these filters or the search bar here to quickly find what you need.
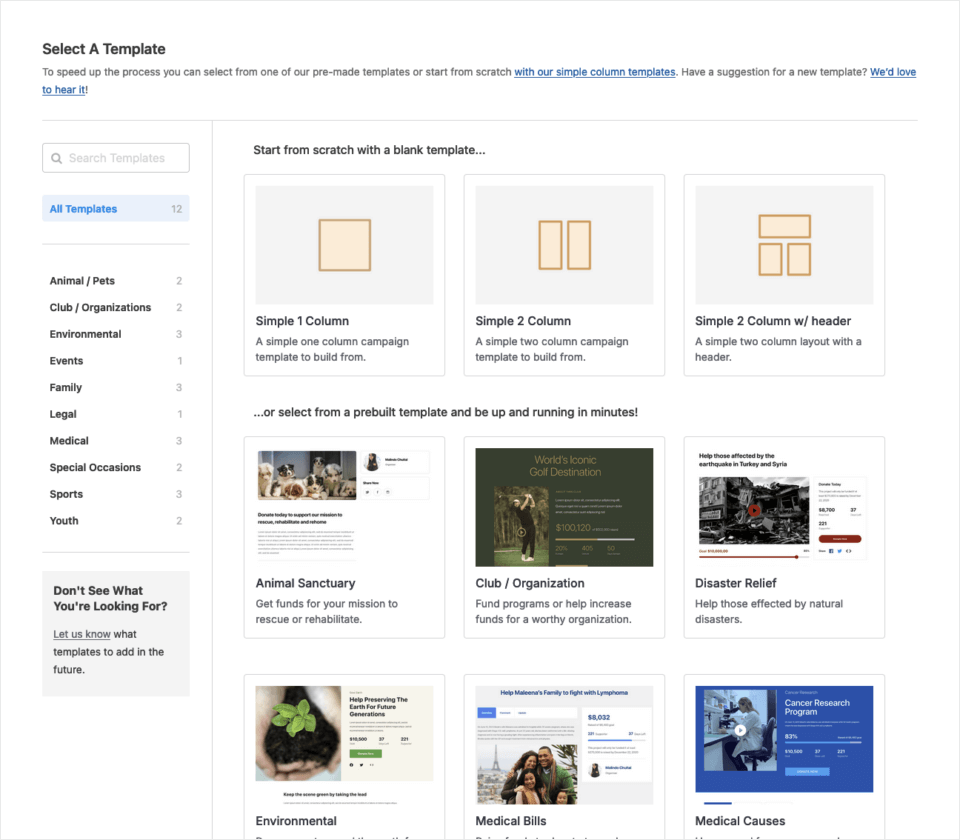
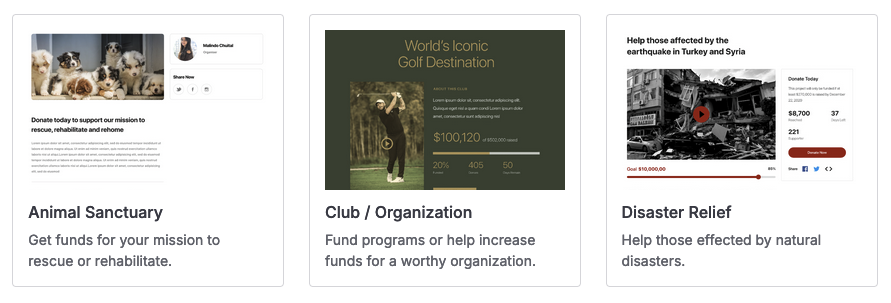
With Charitable, there are two general types of templates to choose from. For starters, Charitable has pre-built templates (that have basic components of a campaign page ready for you to customize and get you up and running as soon as possible.
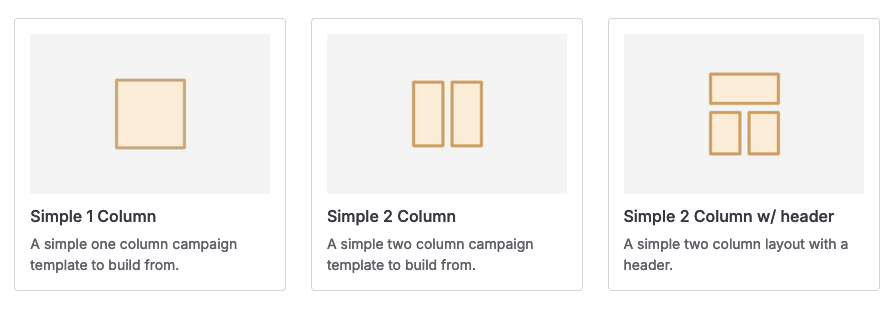
If you would prefer to build your campaign entirely from scratch, select one of the “simple column” templates (all these do is provide the layout of the page – you add any fields manually).
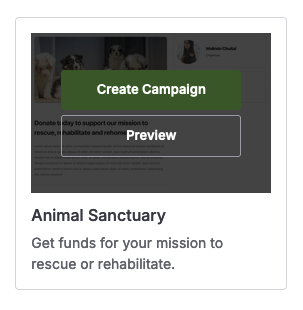
Note: The campaign in this tutorial uses the Animal Sanctuary template. When you hover your mouse over the template, you’ll get an option to preview it to see how it looks and functions before getting started.
Hover back over the Animal Sanctuary template thumbnail and click Create Campaign to get started.
Customizing Your Campaign
Once you’ve selected a template, the campaign builder will open to the Fields Screen. This is where you can customize your campaign design.
Naming Your Campaign
One of the first things you should do is name your campaign to help you easily identify it later. You can type the name of the campaign in the text box at the top of the builder.
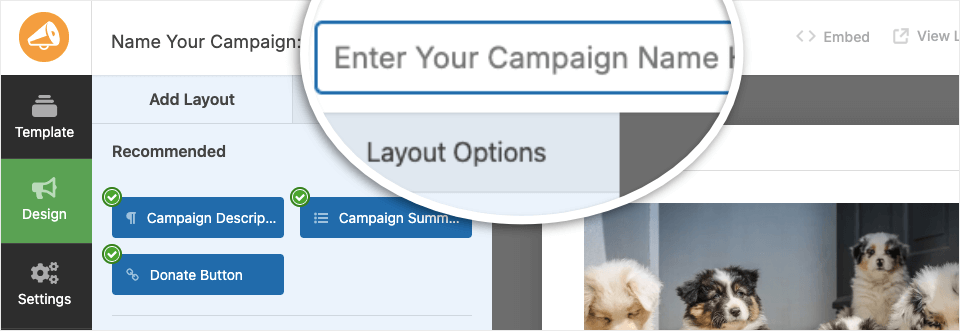
Campaign Fields
The left panel will show you the possible fields you can add to your campaign. Some fields might not be available depending on what fields you have already added, your Charitable license, and extensions you have installed and activated.
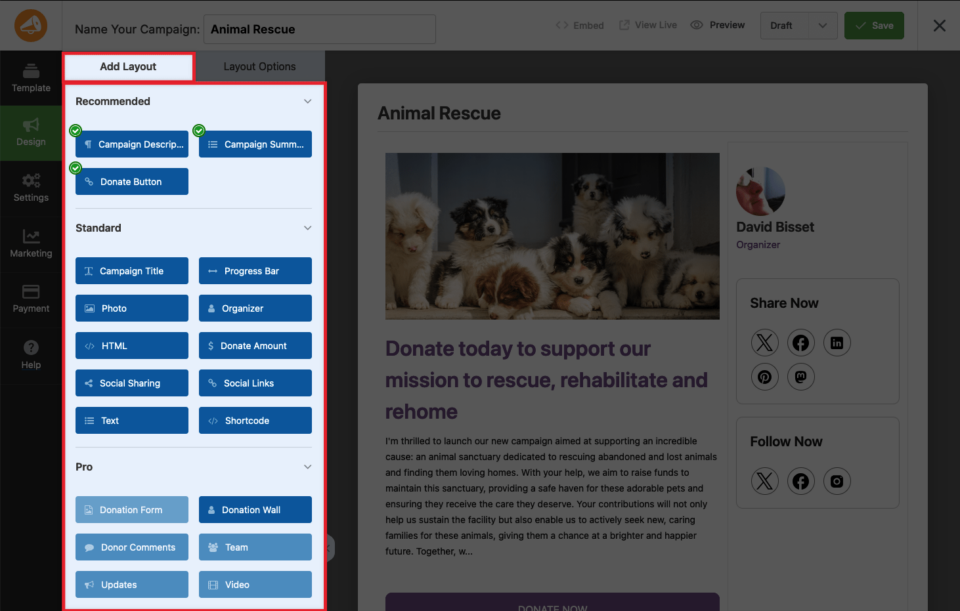
The Fields are categorized into three types:
- Recommended: These fields are highly recommended because they offer basic information or functionality of any campaign page. A green check mark means that at least once exists in your campaign page already.
- Standard: Some standard fields (but not all) are often found on campaign pages and add additional functionality and information. For example, you add a Photo field, a Social Links field, or a generic HTML field to almost any custom HTML.
- Pro: Majority of pro fields are available for users with an active license and with Charitable extensions installed and activated. These usually offer more functionality than standard fields – and can really make a campaign shine!
In the right panel, you will see an editable preview of your campaign.
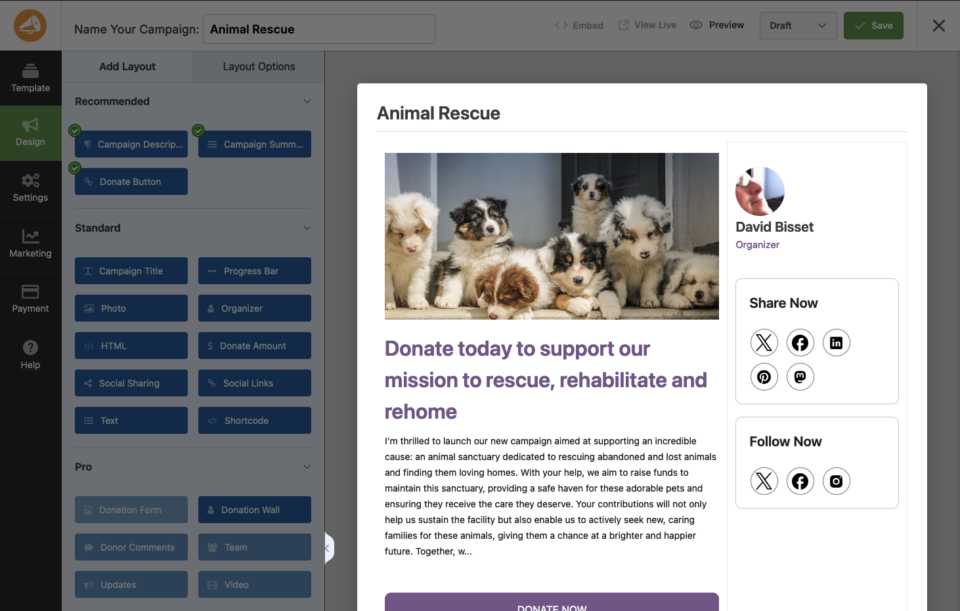
To add a field to your campaign, you can drag and drop it directly into the campaign preview. To edit any text, simply click on the field in the form preview. An editing taskbar will open in the left menu where you can customize the content.
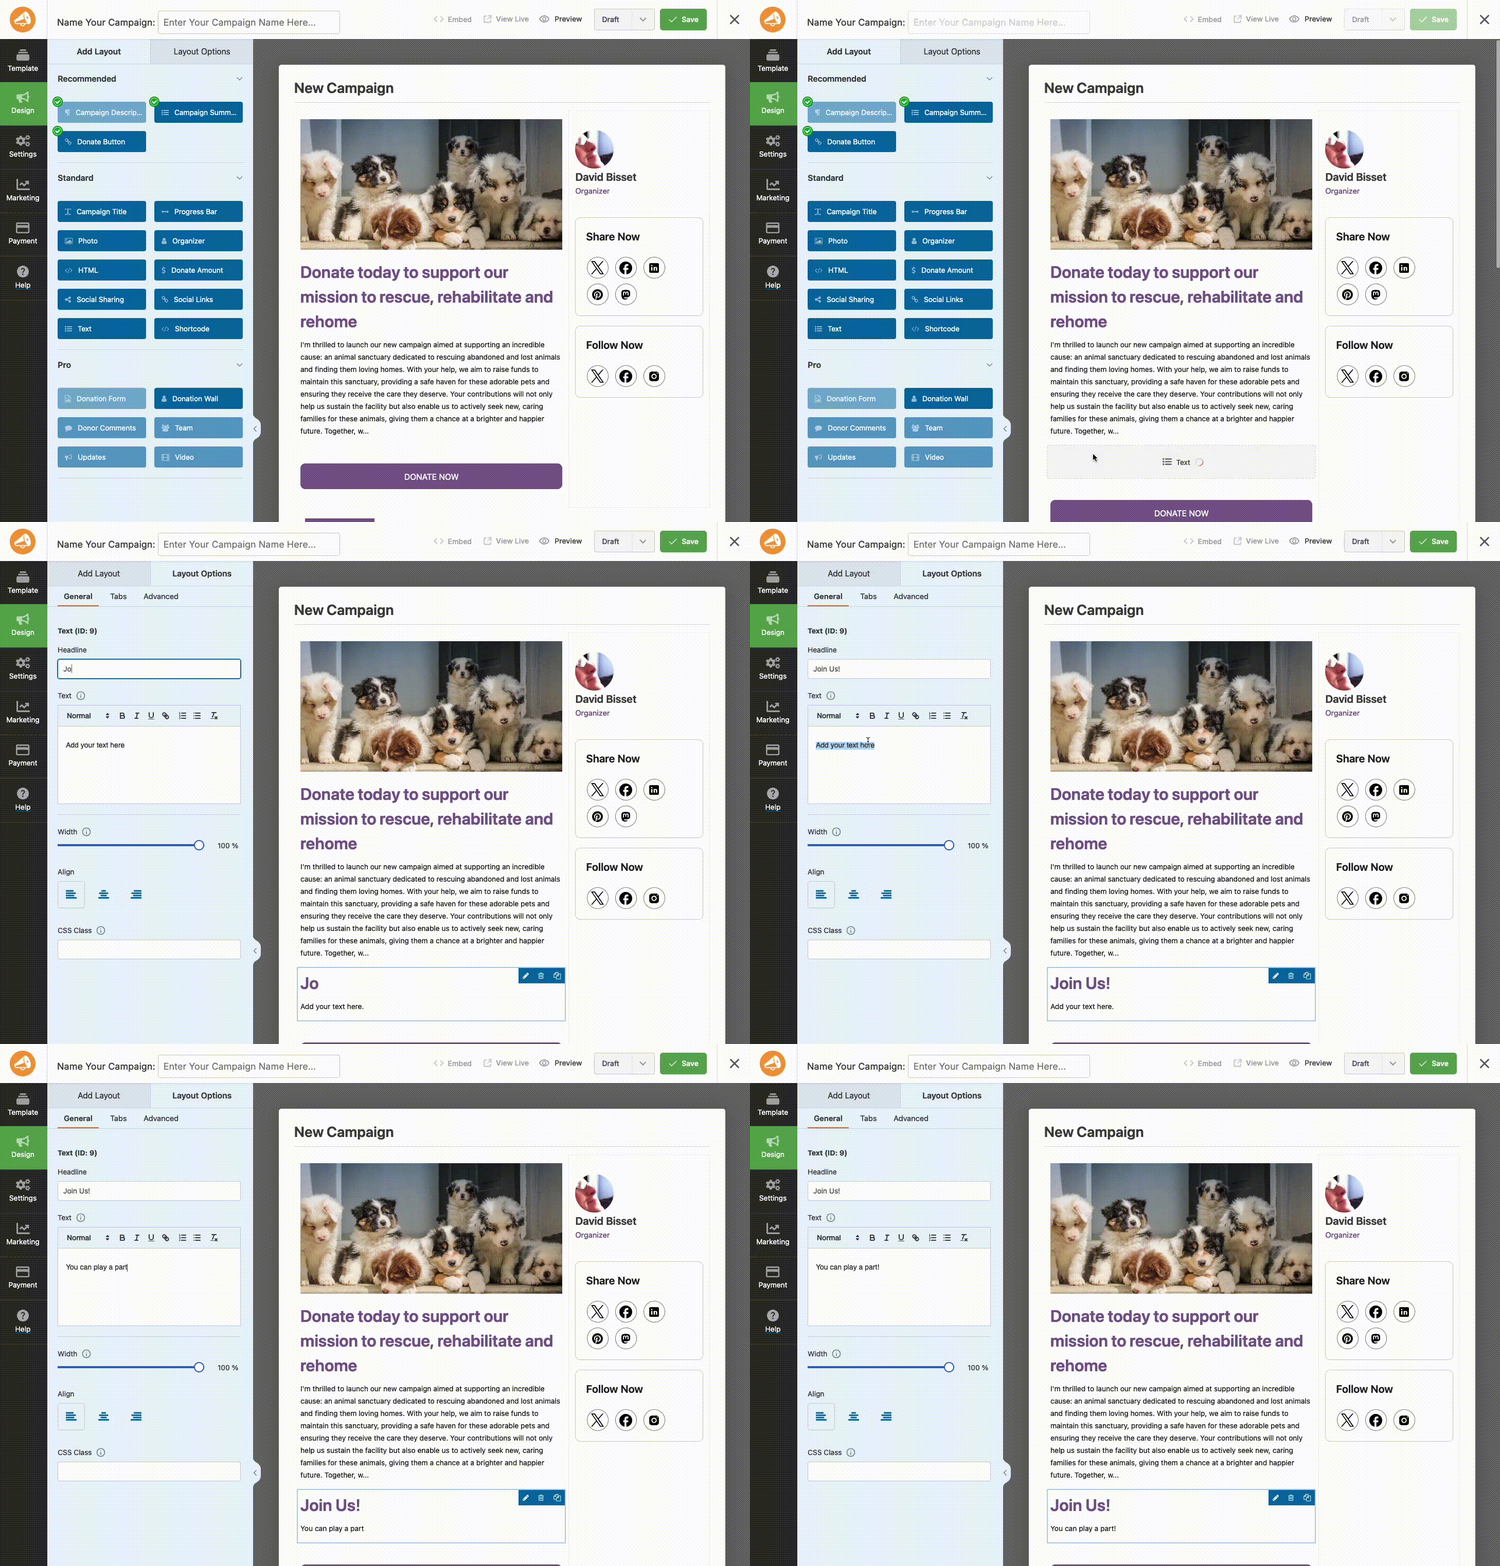
Similarly, you can click on any field such as the image, social sharing, and buttons to make changes. For instance, if you click on the image, editing options will open on the left where you can upload your own image to replace the one in the template.
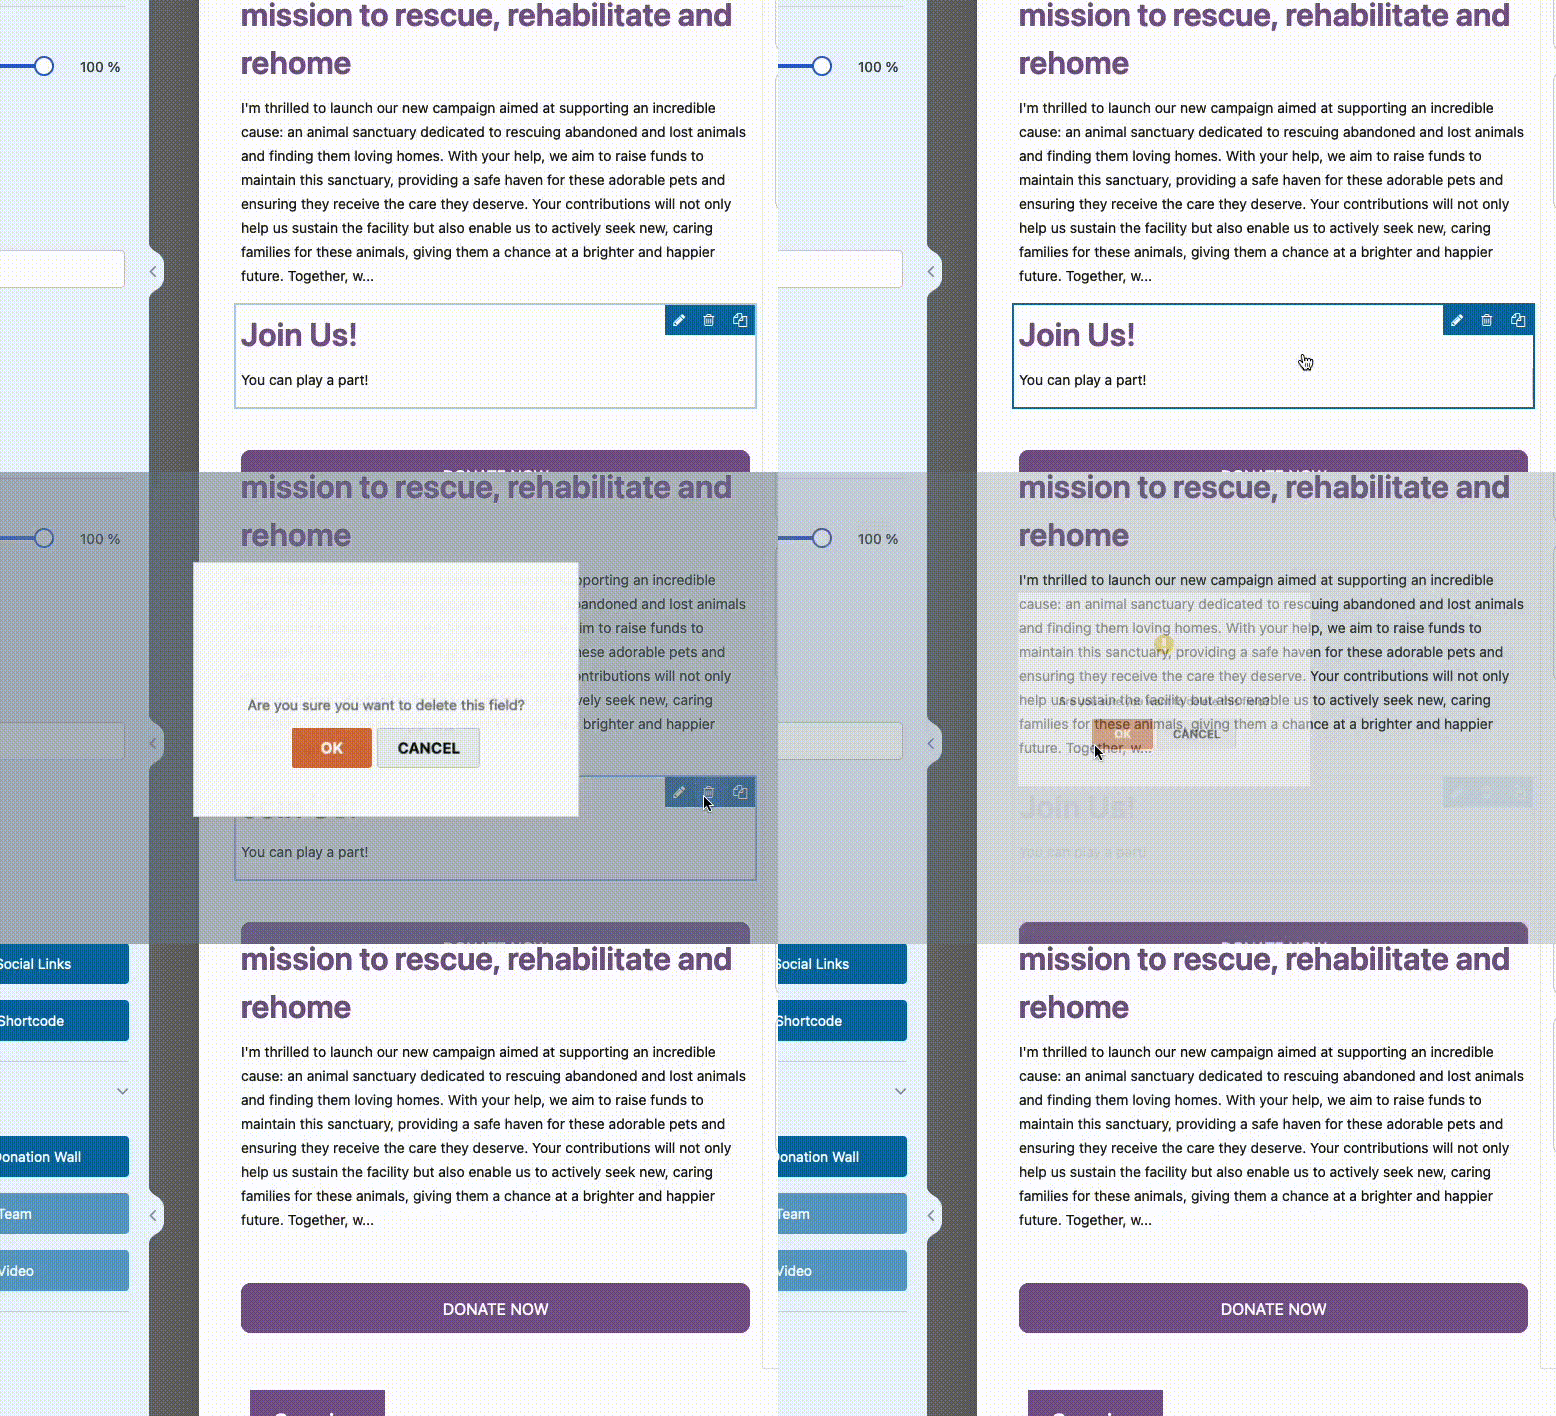
To delete a field from your campaign, you can hover over it and click the trash can icon.
Accessing Field Options
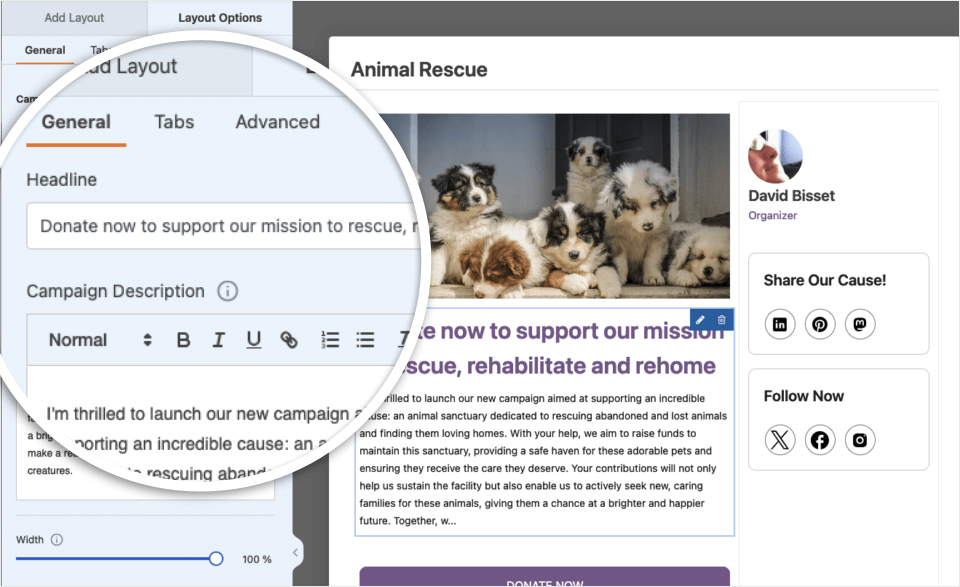
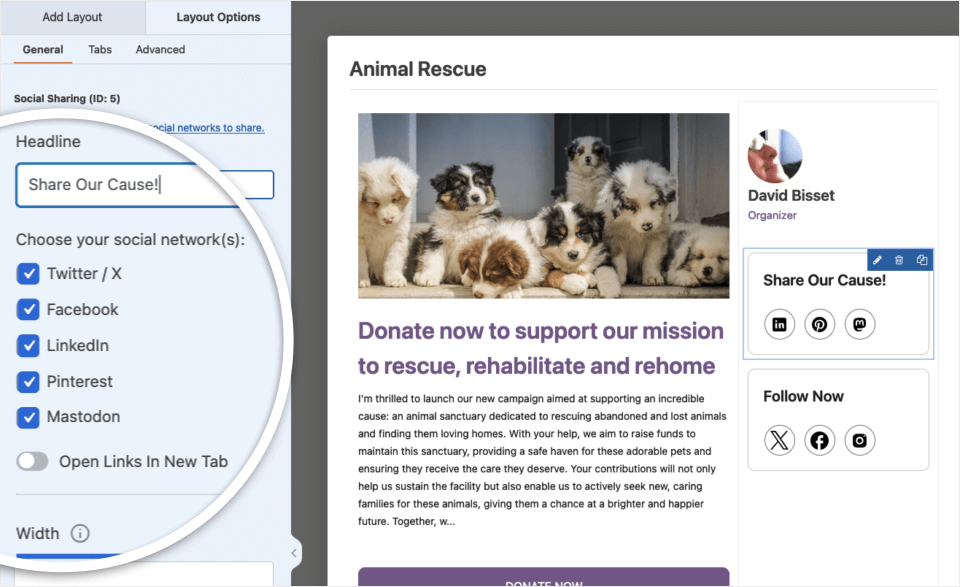
Field options enable you to configure the details and settings of each field, such as its label and alignment.
To view and edit the options available for a field, click on it in the preview panel. The field options will then appear in the left panel of the campaign builder. Different fields will have different options, depending on what functionality they provide.
Editing Form Settings
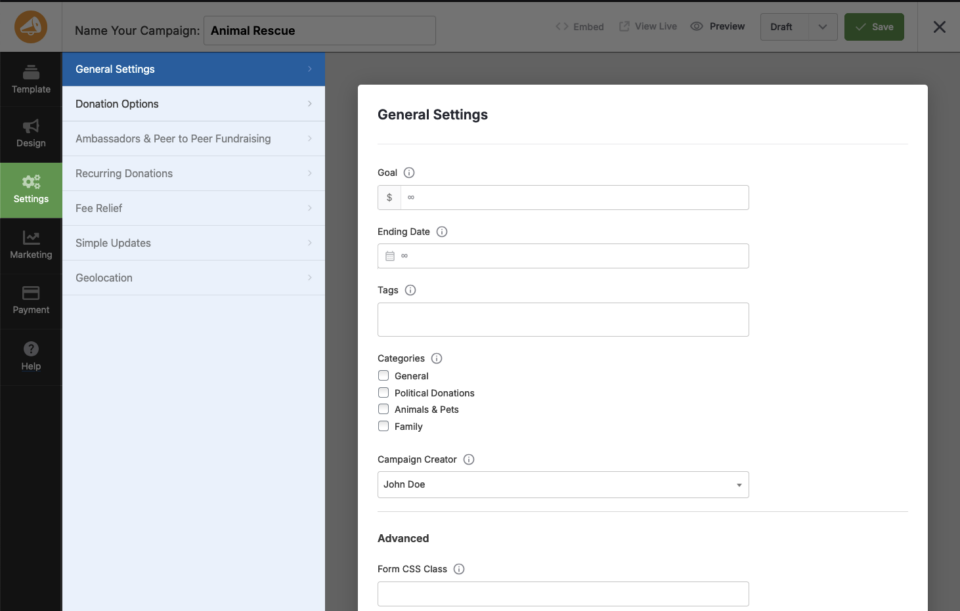
To access your campaign’s settings, click on the Settings tab on the left side of the form builder. Here, you can add campaign goals, end dates, tags, and so much more. Let’s go through it step by step.
Setting A Campaign Goal
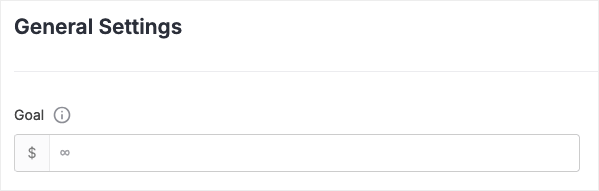
To set the monetary goal of your campaign, visit the General Settings tab and you can input a number to represent the campaign goal (how much you desire the campaign to achieve). You can change this goal at any time, and you can also leave this goal blank if there is no goal (for example: you would like to collect as many donations as possible).
Setting A Campaign End Date
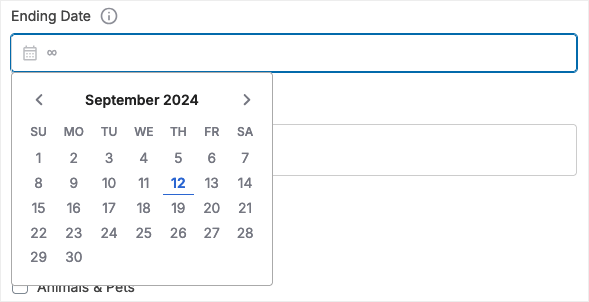
In the same General Settings tab you can also set an end date for a campaign – a date that the campaign will automatically close and stop accepting donations.
Setting Donation Options
You can customize how the donation options on the donation form associated with your campaign by visiting the Donation Options tab. Here you can offer suggested donations (so users can 1-click to choose a donation amount). You can also decide if the user is able to enter a custom amount for a donation, along with setting a minimum amount for a donation.
Saving And Publishing Your Campaign
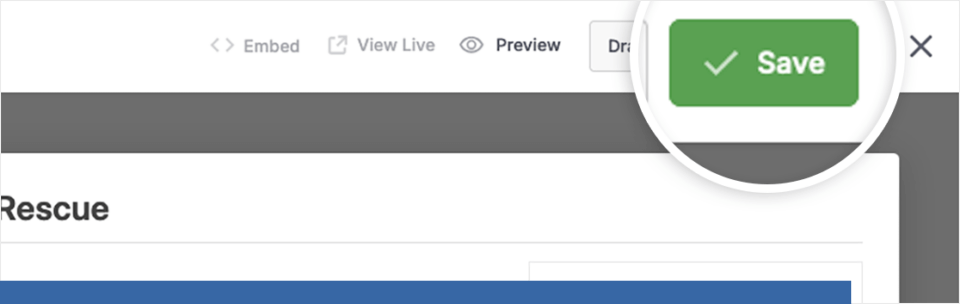
You can save your campaign at any time. Once you’re done configuring your campaign’s settings, click on the Save button at the top of the screen to save your changes.
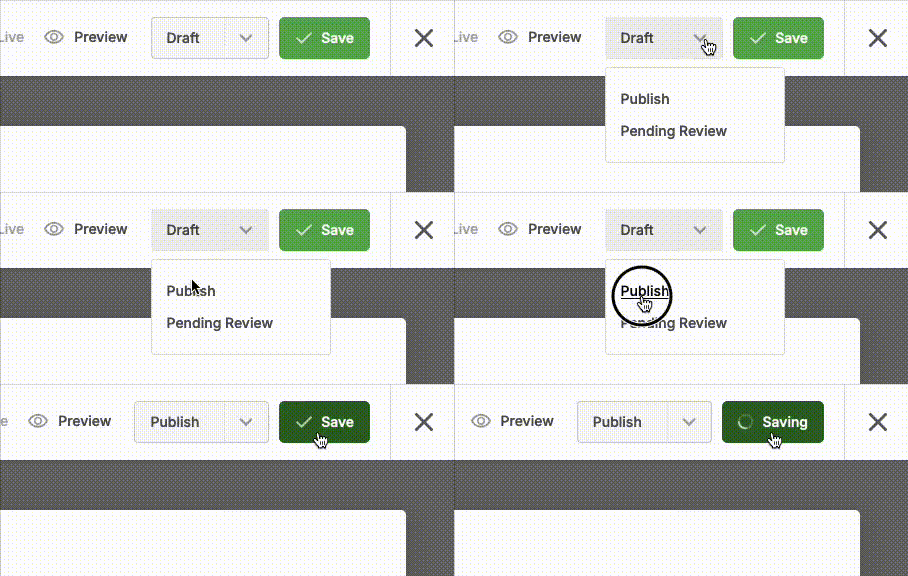
You can edit and save changes while the campaign is in “draft” mode as much as you like. Once you have decided that it’s ready to make your campaign live change the status in the dropdown at the top of the page from Draft to Publish… and hit the Save button (if you have used WordPress before, this concept is similar to drafts/published blog posts).
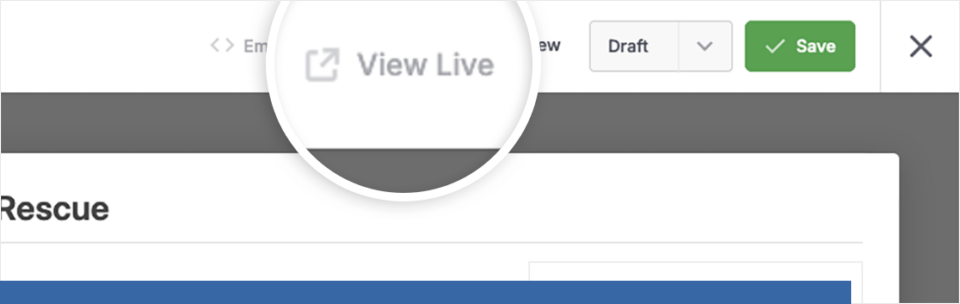
Once your campaign is live you can view it by clicking View Live. Clicking this brings you to the URL of where the campaign lives by default – Charitable generates the page for you based on your WordPress theme.
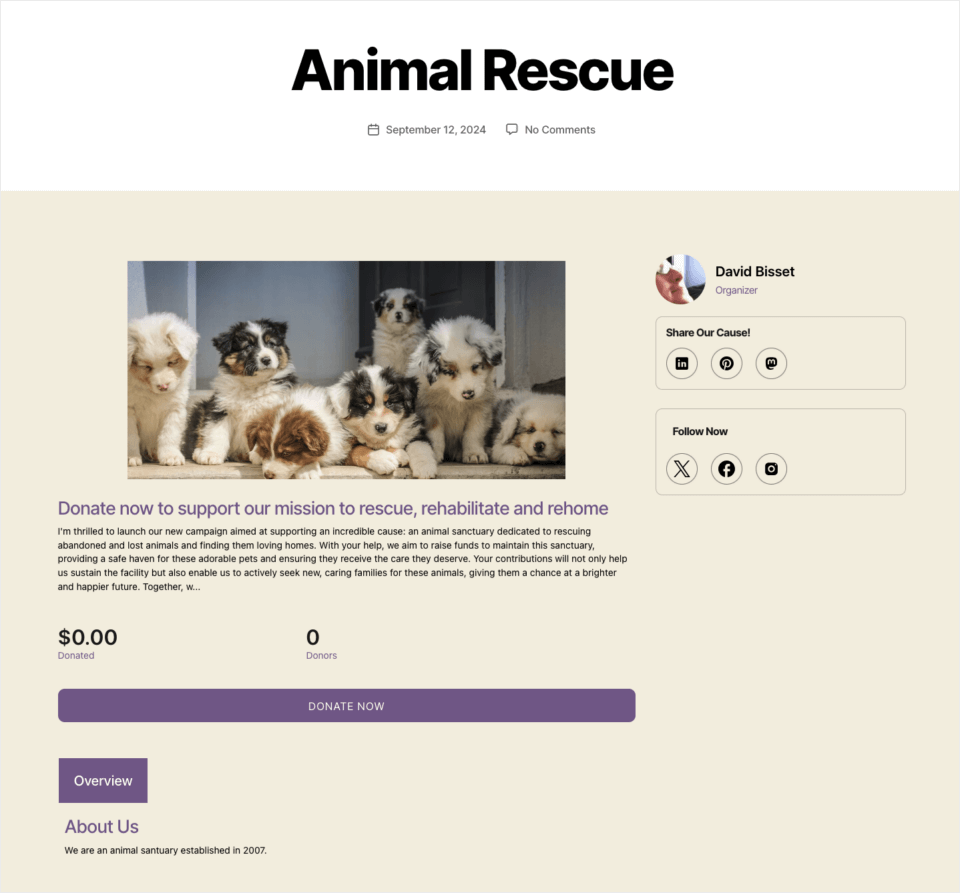
Now that you are viewing the campaign page on the front-end of your WordPress site using your activated template you can go ahead and test the donation form by clicking on the Donate button that was already included in the campaign template.
Note: In this tutorial, we used the default WordPress theme Twenty Twenty. The appearance of your campaign will depend on your theme and any plugins that might affect the code and look of your website.
Here’s a sample of how the campaign will look once you
Displaying Campaigns on Your Site
There are several different ways to add your campaigns to your site. We’ve already seen from the above that Charitable can generate the URL for you (and the donation page, if you have selected this in your General Settings).
Embedding A Campaign
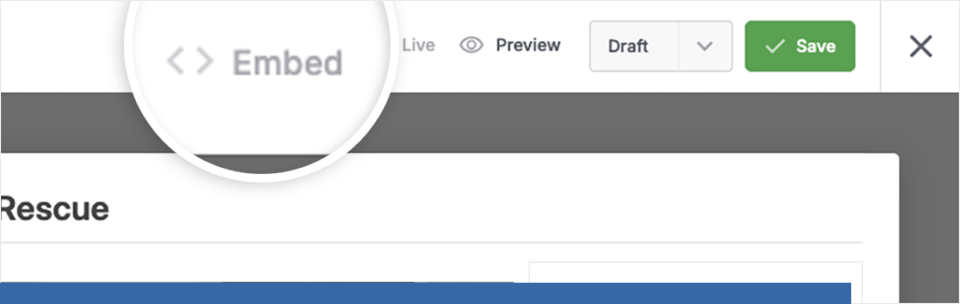
But Charitable gives you the flexibility to add campaigns using other methods. Once you’ve finished customizing your campaign, you can use the Embed Wizard right from the campaign builder by clicking the Embed button.
From here, you’ll have the option to either create a new page to embed your campaign on, or to select an existing page to add your campaign to.
Shortcode
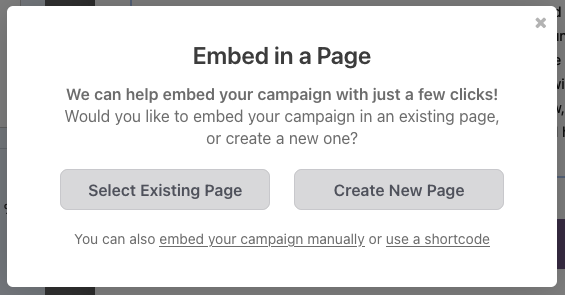
You also have the option of getting the WordPress shortcode if you want to embed this campaign manually (especially useful for more custom WordPress sites, or if you are using a page builder like Elementor or Beaver Builder).
Campaign Block
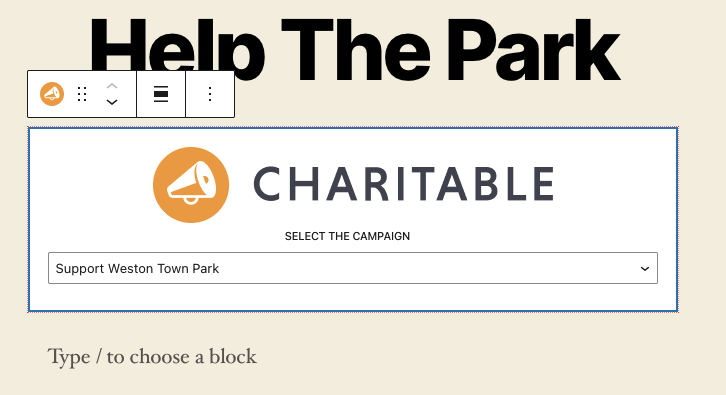
Finally, in the WordPress editor, there’s a readymade Charitable block available. All you have to do is add a new block to your page or post and search for the ‘Charitable Campaign’ block. When you add it to your page or post, you’ll see a dropdown menu that lets you select which campaign you want to display.
Congratulations!
That’s it! You now know how to create campaigns with Charitable.
Next, please be sure to test out your campaign. Check out our documentation section for answers to common questions and ways to further customize your Charitable campaigns and donation forms.


