
We’ve been working hard behind the scenes, and we’re excited to share what we’ve been cooking up. If you’ve ever wished creating donation pages could be easier, or wanted to connect more personally with your donors – this update is going to make your day! We are proud to announce version 1.8.6 of our Charitable (Lite) plugin and our Charitable Pro plugin. Both share some great new features, with additional features just for our Charitable Pro users!
🚀 Updated PDF Receipts Template w/ QR Code
For Charitable Pro plugin users, this update brings something just for you – we have updated the look of the template for PDF Receipts and added a customizable “Thank You” header to make sure you thank your donors!
In addition, we have added the ability to add a QR code that links to the campaign’s official page so donors can scan and share with more potential donors. No coding needed. Just enable this in the PDF Receipts setting and customize the message…. that’s all you need to do!
Want to see the PDF Receipts in action? Watch the PDF Receipt Video »

✨ New Elementor Widgets for Charitable
We know many of you love building with Elementor (we do too!) so we’ve created something special just for you. Building beautiful donation pages just got incredibly easy! When you create pages with the Elementor page builder, you’ll now find four ready-made Charitable widgets that seamlessly integrate with your design:
- Campaigns
- Donate Button
- Donation Form
- Campaigns (Gallery style)

Want to see these new Elementor widgets in action? Check out our video walkthrough »
To add any of these widgets to your page, you simply drag and drop it into your design. Let’s take a look at how each one works.
1. Campaigns Widget
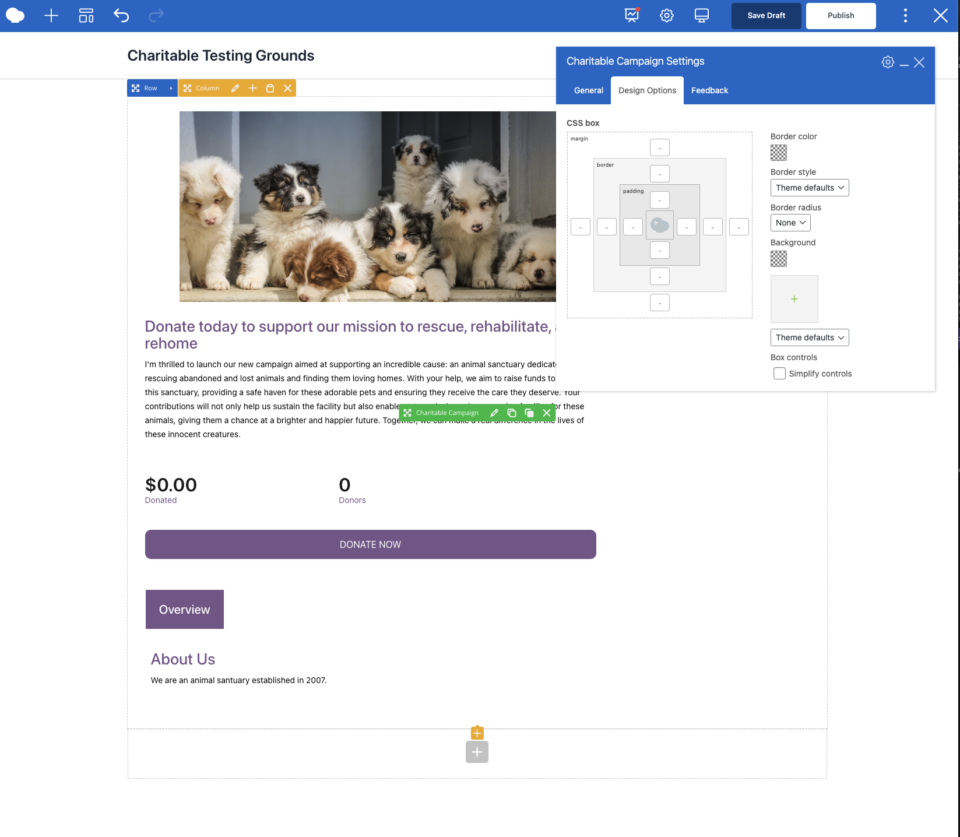
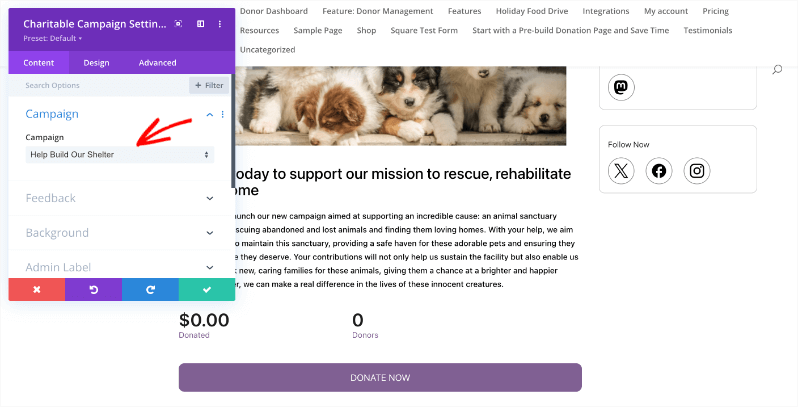
The Campaigns widget lets you showcase individual campaigns with all their compelling details.
Just drag the widget onto your page, and a dropdown menu appears in the left taskbar. Select your campaign, and boom – you’ll see a live preview right in the builder!

Now you can preview, save, and publish with ease.
Why you’ll love this feature?
No more copying and pasting shortcodes or wrestling with layouts. Your campaign information displays beautifully and updates automatically as donations come in. Perfect for featuring your current fundraising initiative on your homepage or creating dedicated campaign landing pages.
2. Donate Button Widget
Sometimes you just need a clear call-to-action, and that’s exactly what this widget delivers.

When you add the “Donate” button, first, you need to select the campaign from the dropdown menu. Then, you can choose whether to display it as a styled button or a simple text link.
We’ve also added an option to open the campaign in a new tab.
The button can be styled as you would style any other Elementor button.
This Donate button widget is perfect for adding donation CTAs throughout your site – in your header, sidebar, or at the end of blog posts. Wherever you want to inspire giving!
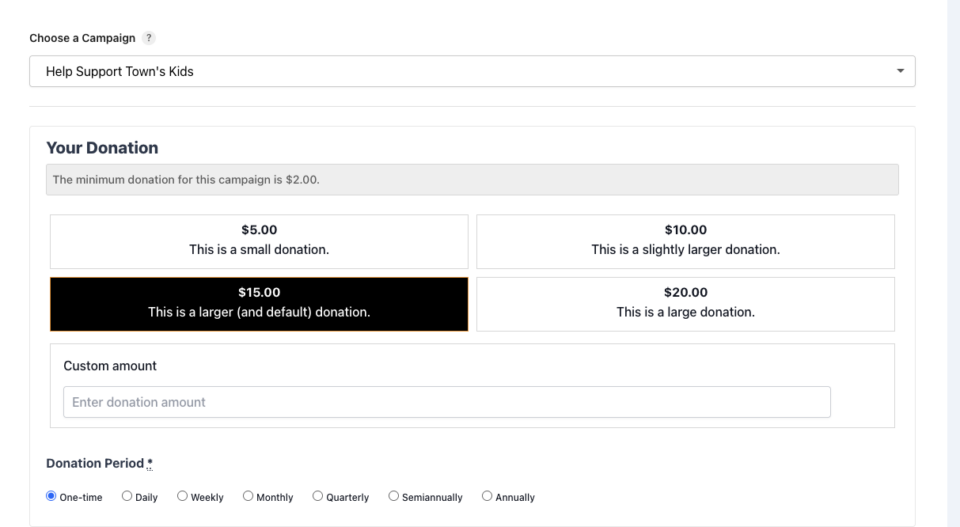
3. Donation Form Widget
Want to show just your donation form on your page? This widget lets you do that with just a click.
While you can’t preview the form directly in the Elementor builder (due to how forms work), just hit the preview button or publish to see it live.

Your donation forms now match your site’s aesthetic perfectly. No more jarring transitions or design mismatches when someone decides to give!
4. Campaigns Gallery Widget
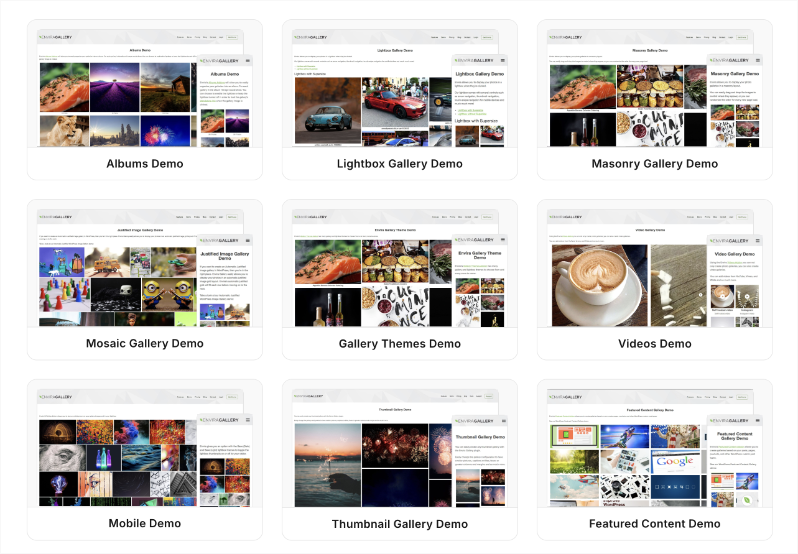
This widget lets you showcase your campaigns in a beautiful gallery showcasing multiple causes in an organized grid.

You get granular control over the gallery, including:
- How many campaigns to display
- Order by Date, Popularity, Ending Soon, Title or Random
- Sort by ascending or descending order
- Add categories
- Show campaigns created by a specific users
- Exclude specific campaigns if needed
- Include/Exclude inactive campaigns
- Column layout (2, 3, 4 columns – whatever works!)
This widget will help you create a “Ways to Give” page or showcase all your current initiatives. Donors can browse and choose the cause that speaks to them most!
The best part? Everything works right out of the box. If you’re already comfortable with Elementor, you’ll feel right at home. Just drag, drop, customize, and publish!
Ready to get started? See How to Use Elementor Widgets »
📧 Game-Changing Email Features: Actually Reply to Your Donors!
Okay, this one’s huge. We’ve all been there – a generous donor makes a contribution, you get the notification email, and you want to say thanks personally. But hitting “reply” just… didn’t work. Well, we fixed that!
The New “Reply to Donor” Feature
We’ve added this smart feature to both New Donation Notifications and Offline Donation Notifications. Watch how this new feature works in our ‘Reply To’ Video Walkthrough »

Here’s why it’s a game-changer:
Before: 😔
- You’d get a notification about a donation
- You’d have to copy the donor’s email
- Open a new email
- Paste their address
- Write your thank you
Now: 🎉
- Toggle on “Reply to Donor” in your email settings
- When a donation notification arrives, just hit reply
- The donor’s email automatically fills in
- Type your personal thank you message
- Hit send – done!
You’ll find this switch inside the Settings » Emails page in your Charitable dashboard. It’s just a click and you’re all set.

Why this matters? Building relationships with donors is crucial, and nothing beats a personal thank you. This feature removes all the friction, making it super easy to show your appreciation. It happens right in your regular email client – no need to log into WordPress or navigate anywhere else.
🚀 A Warmer Welcome with Our New Splash Screen
Nobody likes updating plugins and wondering “Wait, what changed?” That’s why we’ve created a beautiful new splash screen in Charitable (Lite) plugin for major Charitable updates.

What you’ll see:
- A friendly welcome highlighting all the new features
- Clear explanations of what’s new and improved
- Quick tips to help you get the most out of the updates
- Links to helpful resources if you want to dive deeper
The splash page will walk you through everything that’s new – because nobody should have to hunt for release notes to understand what they just installed!
A Few More Surprises!
The Charitable Pro plugin also includes several new exciting features that we are introducing as beta features, including abilities to export/import Charitable donors along with importing data from other plugins and services. In addition, we are introducing exciting payment options for Stripe users. Watch for more news on these and feel free to try these features for yourself!
Ready to Try Everything Out?
These features are available right now in the latest version of Charitable. Whether you’re looking to create more beautiful donation pages with Elementor, or you want to build stronger relationships with your donors through better communication, this update has you covered.
Quick Start Guide:
- Update to the latest version of Charitable
- Open Elementor and look for the new Charitable widgets in your widget panel
- Head to your email settings to enable “Reply to Donor”
- Start creating and connecting!
Got questions? Need a hand getting started? See our documentation:
We can’t wait to see the amazing donation pages you create and the relationships you build with these new tools. Happy fundraising!


Leave a Reply