Received a cheque in the mail from a donor and want to add it to Charitable? No problems! With Charitable, you can easily create and edit donations through your WordPress dashboard.
Create a new donation
To create a new donation from the Dashboard, go to Charitable > Donations, and click the Add Donation button at the top of the page.

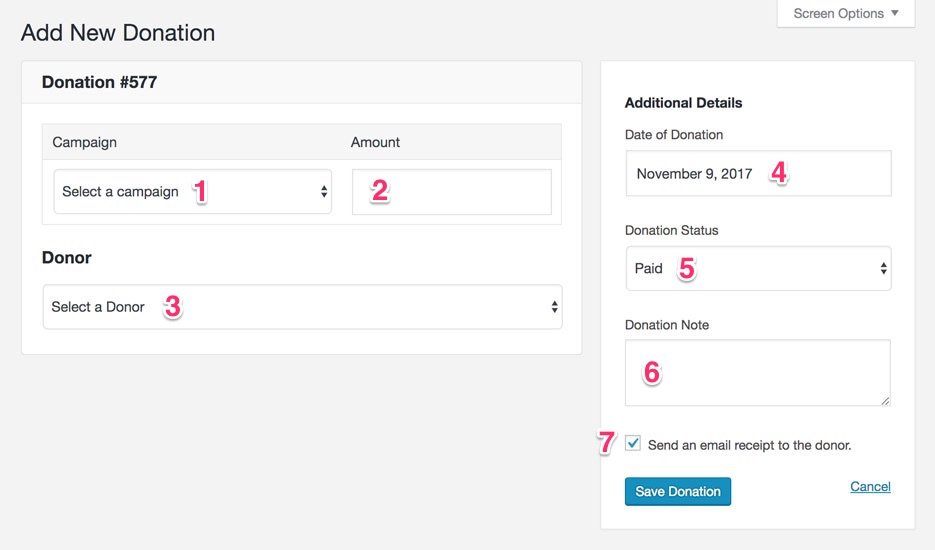
Next, you will see a form where you can add the following information:
- Assign the donation to an existing campaign
- Add the donation amount
- Assign the donation to an existing donor, or add a new donor
- Set the date of the donation
- Set the status of the donation
- Add a Donation Note, which will be displayed in the Donation Log (optional)
- Choose whether to send an email receipt to the donor or not

Once you have added this information, just click Save Donation and you’re done.
The new donation will appear in the donation list at Charitable > Donations.
Edit a donation

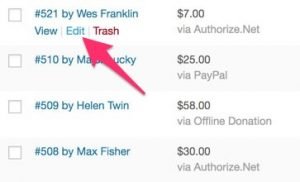
To edit a donation from the Dashboard, go to Charitable > Donations, and click Edit below the donation you’d like to edit.
Alternatively, you can click Edit Donation when you’re viewing the details of a donation.

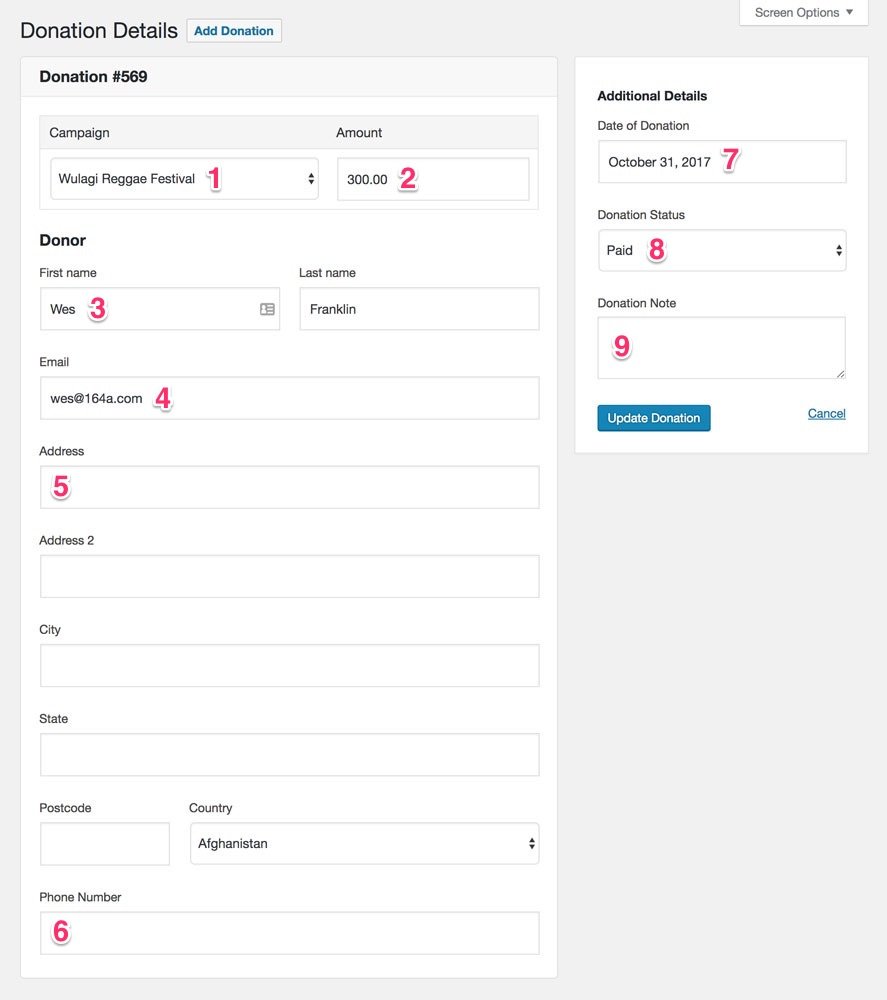
Next, you will see the Donation Details window where you can edit the following information:
- Assign the donation to a different campaign
- Change the donation amount
- Change the name of the donor
- Change the email address of the donor
- Change or add the address of the donor
- Change or add the phone number of the donor
- Change the date of the donation
- Change the status of the donation
- Add a Donation Note, which will be displayed in the Donation Log

Once you have made changes to the donation, click Update Donation and you’re done.
